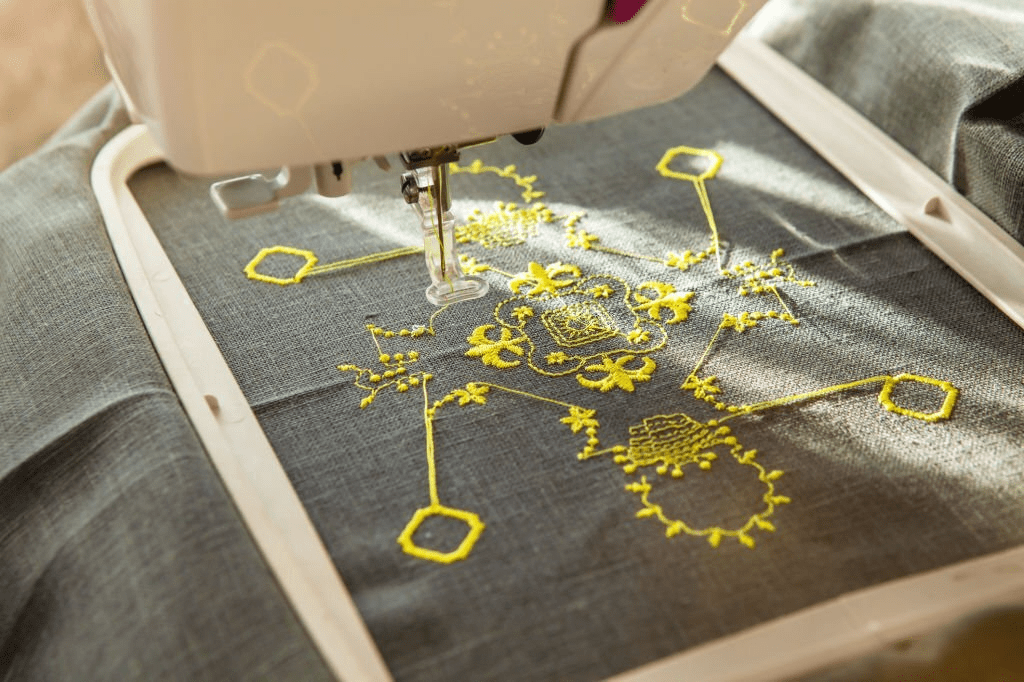
Embroidery digitizing, also known as custom digital embroidery, is a skill that allows you to transform any design, logo, or artwork into a digital format that can be stitched onto fabric with precision and accuracy. While it may seem daunting at first, mastering the art of custom digital embroidery opens up a world of creative possibilities, allowing you to bring your unique visions to life. In this blog post, we’ll walk you through the basic steps of digitizing your own embroidery designs, empowering you to unleash your creativity and create stunning works of art.
Step 1: Upload Your Logo to the Digitizing Software
The first step in digitizing your own embroidery designs is to upload your logo or artwork to digitizing software. There are many different digitizing software options available, each with its own set of features and capabilities. Choose a software that suits your needs and preferences, and then import your design into the program.
Step 2: Set Embroidery Design Size
Once your design is uploaded into the digitizing software, you’ll need to set the size of your embroidery design. Consider the dimensions of the fabric you’ll be stitching onto, as well as any specific size requirements for your project. Adjust the size of your design accordingly to ensure that it fits seamlessly onto your chosen fabric.
Step 3: Choose Your Stitch Type
Next, you’ll need to choose the type of stitch that will be used to create your embroidery design. There are several different stitch types to choose from, each offering its own unique look and texture. Experiment with different stitch types to find the one that best complements your design and achieves the desired effect.
Step 4: Set Stitch Direction
Once you’ve chosen your stitch type, it’s time to set the direction of the stitches in your design. The direction of the stitches can have a significant impact on the final appearance of your embroidery, so take the time to experiment with different stitch directions until you achieve the desired result.
Step 5: Set Your Embroidery Thread Colors
With the stitch type and direction set, it’s time to choose the colors for your embroidery thread. Most digitizing software programs allow you to select from a wide range of thread colors, giving you the flexibility to create custom color palettes that match your design perfectly. Experiment with different color combinations until you find the one that brings your design to life.
Step 6: Transfer the File to Your Embroidery Machine
Once you’ve finalized your embroidery design in the digitizing software, it’s time to transfer the file to your embroidery machine. Most digitizing software programs allow you to save your design in a format that is compatible with your machine, making it easy to transfer the file and begin stitching.
By following these basic steps, you can digitize your own embroidery designs with confidence and precision, perfect for creating custom digital embroidery. Whether you’re crafting custom logos for your business or stitching intricate designs onto clothing and accessories, mastering the art of digitizing opens up a world of creative possibilities. So why wait? Start digitizing your own embroidery designs today and unleash your creativity like never before.


